

 Photo Credit: wowbathroomideas.net
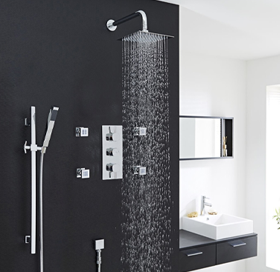
Design culture is heavily influenced by DIY trends. Performing certain renovations or upgrades on your own has become a proven money-saver in the long-term scheme of things. The bathroom can be an intimidating space to try to upgrade by yourself, but it’s often one of the best rooms in your home to start with if you are looking to get into the DIY industry. If you want to start with a small and somewhat simple project, we suggest beginning with the bathroom sink. Installing an undermount sink is one of the best small projects to undertake when you are looking to make some renovations on your own. Follow these basic instructions to get a head start on installing your new undermount sink.
Step One: Planning and Prep Work
The most important thing to consider is the counter that the sink will be fitting into. Many PerfectBath bathroom vanities come with easy, top mount and undermount sinks that simply have to be secured into place on your bathroom vanity. However, if your countertop or vanity does not already include room for the sink, you will need to measure the sink(s) you want to install and cut out the appropriate section within the countertop. We recommend installing faucets before the sinks are secured, as this will make the job much easier in the long run.
Step Two: Drop in the Sink and Seal it in Place
Once you have prepped the recess hole for your sink, you’re ready to install the sink. Fit the sink in place and make sure that everything aligns correctly and fits as it should. At this time, if there is anything that needs to be updated or corrected, you should make these changes and then seal the sink into place.
Step Three: Assemble the Sink
Now it’s time to secure the faucet on the underside of the sink and install the piping underneath the sink. Install retaining clips around the edge of the sink and tighten the retaining clips to the underside of the countertop if you have a laminate countertop or if installing in a granite or quartz countertop you will need to use either epoxy or good silicone and clamp the sink in place while it cures before putting it into service. You should also wipe away any sealant that might have squeezed out from around the sink before it dries and becomes more difficult to get rid of. Once you have finished installing and setting up your new sink, it’s time to turn on the water and test your results!
Have you ever installed your own bathroom or kitchen sink? Did we miss anything as far as the installation process is concerned? Leave your feedback in the comments below and let us know if you have anything to add!
Contributed by : EagoParts