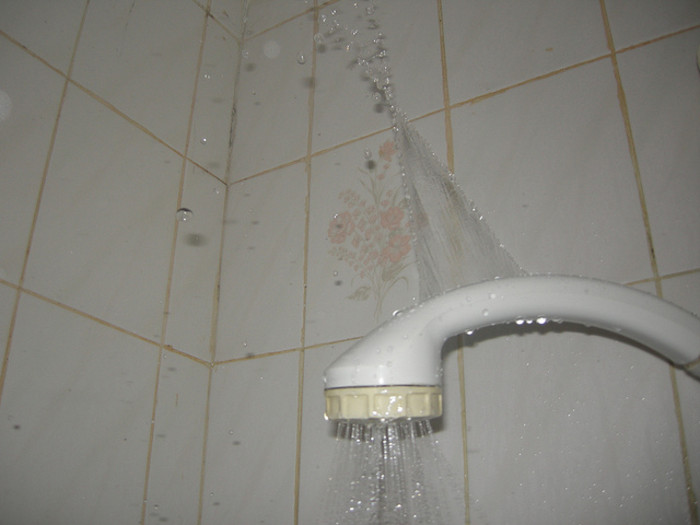
A leaky shower faucet could potentially be costing you money on your water bill. Thus, to help you out, we’ll discuss 3 tips for repairing a leaky shower faucet below. Read on!

Image Source: Flickr
Remove the Handle
Start by removing the faucet handle. Methods for doing this will depend upon the faucet’s design.
Remove the Cartridge
- The cartridge is a large ring that is adjacent to the wall. It will be exposed after you remove the faucet handle.
- Use a cartridge puller. This can be found at a hardware or home improvement store. Source: wikiHow
Install the New Cartridge
Turn the hex screw by hand until it bottoms out. Snug up the hex nut by hand and tug on the cartridge puller handle. If the cartridge won’t pull out, hold the puller handle steady and tighten the hex nut two full turns. Pull the cartridge out of the faucet body. Buy an identical replacement cartridge, align it properly and reassemble the parts. Source: FamilyHandyman
Clean and Reassemble
Before putting the shower stem back, take the opportunity to clean any junk from the pipes. Put the shower stem back into the pipe in reverse order from how you took it out. Use some faucet grease and apply it to the faucet stem threads. In order to prevent damage, re-caulk the faucet plate. When completely finished, don’t forget to turn your water back on. Source: DoItYourself
Contact:
Eago Parts
Phone: Toll Free 1-888-556-1912
Calgary, Alberta
Email: info@eagoparts.com


